Saturday, August 27, 2016

mast strut

holes in rotten plywood
The mast and the cabin it sits on was sitting about a half of a centimeter lower than it should. This was due to rotten plywood below the mast strut that goes through the cabin to the bottom of the boat.

This explained why all the standing rigging was a bit loose.

Jarred removed the strut and drilled a bunch of holes in the rotten plywood. He then filled the holes with epoxy so that area was now a solid block of epoxy.

Since the old mast strut was beat up on the ends, Jarred made a new one with a new steel pole and steel plates welded at each end for better connections to the epoxy pad at the bottom and the mast bracket at the top. At the top, he added a piece of Paperstone with a big hole in it and another steel plate on top of that to make a sort of Paperstone sandwich that holds the strut in place. On the bottom, a wide steel plate is epoxied onto the bottom of the boat, with another steel plate as a shim between that and the strut.

He raised the cabin back to the right height using two jacks under a rod inserted through holes the mast strut.

new mast strut with jacks temporarily holding it in place


Sunday, July 3, 2016

rigging part 1

Since the standing rigging is 38 years old, we are replacing it. Same goes for the lifelines, which were twisted wire that was fraying in places. The old stuff is rod for the nonadjustable rigging and wire for the adjustable rigging and lifelines.

We are using Dymeema, which is synthetic rope that is stronger and lighter than steel and is normally used for fancy racing boats because it is expensive but IT WAS ON SALE at WestMarine, cheaper than rod or wire, and also we like to experiment. For the two running backstays, which flop around a bit around the head of whomever is driving when not being used, rope makes a lot more sense than wire. And similarly for when the lifelines are undone for getting off and on the boat, rope is nicer on the deck than wire. And then over a week we decided Dyneema everywhere.

This means that all the attachments for the rigging are different, and the expenses add up for that. But Jarred is hacking away at solutions for every connection, some purchased and some that he is making. And we are learning about splicing rope. So the next few posts will be closeups of small parts.

Santa comes in July - Dymeema rope, new clutches and cleats for lines.

splicing Dyneema according to instructions.
first small part: Dyneema and tang with that goes into a hole in the mast.

size

Elixir is as long as its neighbors, and about as tall when the mast is on, but that's about it.

date night

The boat is in Everett, a half hour drive from our house when there is no traffic. On Monday nights we head up to spend the evening on the boat. We do small projects and then there is cocktail hour and then I cook dinner and then we discuss next steps.

small project: same name, new decal

cocktail hour
dinner

mast off

The next thing to do was to evaluate/replace everything attached to the mast. The mast came off.
securing the mast for lifting by crane.

I got a phone call just as they started lifting the mast so I managed to get only this shot.

walking the mast to the yard.
mast in yard with other masts, hardware removed.
bare boat.

first yard visit

pressure washing.
We hauled out for the first time and spent about two weeks in the yard. I put about 30 hours into sanding the bottom paint off the hull and I scrubbed the topsides with magical chemicals. Jarred took off much of the hardware, gathering all the lines in a trash bag at the bottom of the mast, and ground most of the teak overlay off the deck. Except where it wasn't, the teak was glued down well.

in the yard at Everett.

Jarred also cleaned up the prop shaft, replaced the feathering prop with a new one, and added new zincs. It was our hope that our new feathering prop, sized better for the boat, plus a smoother hull would make us go faster under motor. It had been tough to push the boat over five knots under motor on the way to Everett, but this type of boat should do closer to six knots under motor. We don't motor often, but when we do... Jarred also put toilet ring wax all over the prop and shaft; he'd heard from a friend that the wax discourages things from growing on the boat.
new prop and zinc.

Grinding the teak off the deck was sad but necessary. Jarred injected all holes from the rivets and from previous deck hardware with epoxy so that the deck was no longer swiss cheese.

finished grinding; Jarred with a couple of strips of teak that came right off; deck with holes filled with epoxy.
 A few after shots follow.
black bottom paint.


back in the water


back in the water 2.

back in the water 3.


Wednesday, June 29, 2016

condition as bought

teak opening up in foreground,
Ballard Bridge closing in background.
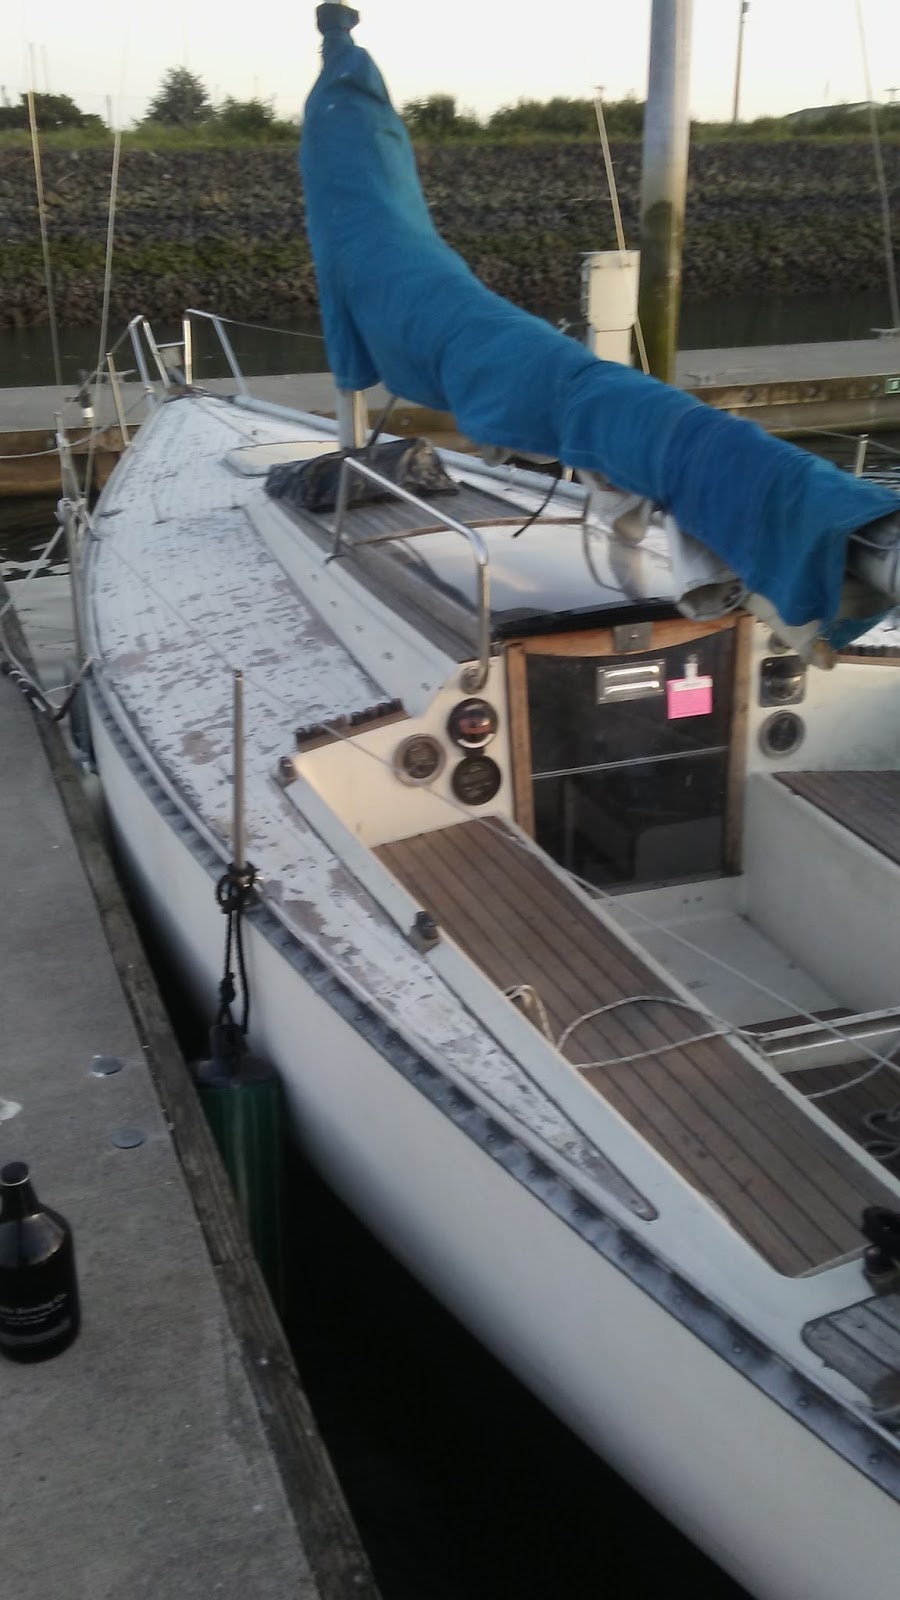
The most obvious issue with the boat was the failing teak deck overlay. The fiberglass deck below was visible in a few areas, and some strips were splintering off. A few rivets were missing. The fiberglass deck seemed sound even with the hundreds of rivets in it, but it probably wasn't going to stay sound much longer. There were already a couple of small leaks to the cabin.

To replace this teak overlay would cost about $10K, said the internets. It was a big bummer since the teak was basically art, but we figured the best thing to do was get rid of it before we created fond memories of it, or maybe wait a year at most. We'd decide after testing to see how difficult it was to remove.

The deck under the forestay was popping up a bit, and the mast step seemed to be slightly crushed. The standing rod rigging was 38 years old, much older than recommended. The rigging was very loose, probably because of the crushed mast step. The clutches and cleats for the lines were read to retire. The feathering prop didn't always swing out on both sides underway, requiring going into neutral and trying again. The motor was good, the deck and hull seemed sound, the sails were going to be okay for a while.


interior as bought (except new stove)
Most ancillary equipment - gauges, toilet, cabin lights, water to sink - did not work. It did not have a stove, which was the first thing to be addressed on the boat - we added an alcohol stove within two days.

The cabin had been partially refinished, but needs a good cleaning everywhere and sanding and repainting in some places. The interior cushions were newer and in great shape other than being dirty. They were super comfortable and a nice shade of gray. This is super exciting for the seamstress in the family.

So on the balance so far all the things that needed fixing or replacing were the relatively fun and cheap things to fix or replace.

When we hauled out in Everett we found many small blisters in the paint and a few large ones in the gelcoat of the hull. One thruhull needed immediate replacement.

Extra photos from when we bought it follow.